发现一个大坑,当 ThinkPHP 查找一个不存在的字段时,
如:
M('News')->where(['news_id'=>$news_id])->save(['tag'=>$tag]);
若数据表不存在 news_id 字段,该语句相当于 :
M('News')->where(true)->save(['tag'=>$tag]);
简直是我了个大槽。
比如:


学习日志 LIUGUOFENG
发现一个大坑,当 ThinkPHP 查找一个不存在的字段时,
如:
M('News')->where(['news_id'=>$news_id])->save(['tag'=>$tag]);
若数据表不存在 news_id 字段,该语句相当于 :
M('News')->where(true)->save(['tag'=>$tag]);
简直是我了个大槽。
比如:
<?php

$string="春天、夏天#秋天,冬天,阿里:腾讯#淘宝:百度#网易";

$arr=explode('#',str_replace(array(':',',',',','、'),'#',$string));

$arr2 = preg_split( "/(#|:|,|,|、)/", $string );

echo "<pre>";
print_r($arr);
print_r($arr2);
echo "</pre>";

?>

Nginx 环境下使用浏览器访问任何 PHP 文件均显示 No input file specified 而访问 html 文件显示正常
默认安装的 Nginx配置文件中定义 fastcgi 处是:fastcgi_param SCRIPT_FILENAME /scripts$fastcgi_script_name;
可以将它改成:
fastcgi_param SCRIPT_FILENAME $document_root$fastcgi_script_name;
参考链接:https://blog.csdn.net/yuanyuan_186/article/details/51259078

当空字符串使用 explode() 函数时 返回为 Array ( [0] => ) 而非 Array ( )
相应的 count() 值为 1 而非 0

将 include enable-php.conf 修改成 include enable-php-pathinfo.conf
保存退出重启 Nginx


原因是 pathinfo 设置问题

参考文档:https://lnmp.org/faq/lnmp-vhost-add-howto.html#pathinfo
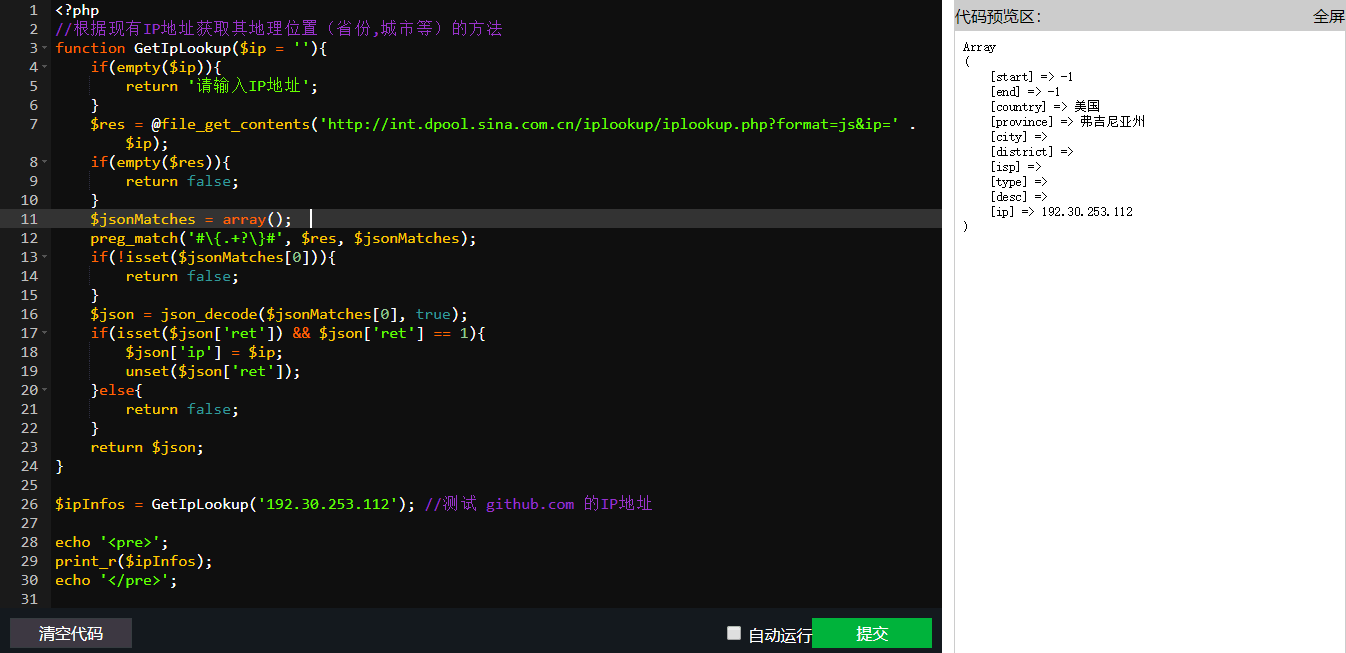
<?php
//根据IP地址获取其地理位置(国家,省份,城市等)的方法
function GetIpLookup($ip = ''){
  if(empty($ip)){
    return '请输入IP地址';
  }
  $res = @file_get_contents('http://int.dpool.sina.com.cn/iplookup/iplookup.php?format=js&ip=' . $ip);
  if(empty($res)){
    return false;
  }
  $jsonMatches = array();
  preg_match('#\{.+?\}#', $res, $jsonMatches);
  if(!isset($jsonMatches[0])){
    return false;
  }
  $json = json_decode($jsonMatches[0], true);
  if(isset($json['ret']) && $json['ret'] == 1){
    $json['ip'] = $ip;
    unset($json['ret']);
  }else{
    return false;
  }
  return $json;
}

$ipInfos = GetIpLookup('192.30.253.112'); //测试 github.com 的IP地址

echo '<pre>';
print_r($ipInfos);
echo '</pre>';
PHP 获取当前域名有两个变量 HTTP_HOST 和 SERVER_NAME:
相同点:
当满足以下三个条件时,两者会输出相同信息。
1. 服务器为 80 端口
2. apache 的 conf 中 ServerName 设置正确
3. HTTP/1.1 协议规范
不同点:
1. 通常情况:
$_SERVER["HTTP_HOST"] 在 HTTP/1.1 协议规范下,会根据客户端的 HTTP 请求输出信息。
$_SERVER["SERVER_NAME"] 默认情况下直接输出 apache 的配置文件 httpd.conf 中的 ServerName 值。
2. 当服务器为非 80 端口时:
$_SERVER["HTTP_HOST"] 会输出端口号,例如:guofeng.io:8080
$_SERVER["SERVER_NAME"] 会直接输出 ServerName 值
因此在这种情况下,可以理解为:HTTP_HOST = SERVER_NAME : SERVER_PORT
3. 当配置文件 httpd.conf 中的 ServerName 与 HTTP/1.0 请求的域名不一致时:
httpd.conf 配置如下:
<virtualhost *>
    ServerName mimiz.cn
    ServerAlias blog.liuguofeng.com
</virtualhost>
客户端访问域名 blog.liuguofeng.com
$_SERVER["HTTP_HOST"] 输出 blog.liuguofeng.com
$_SERVER["SERVER_NAME"] 输出 guofeng.io
所以,在实际程序中,应尽量使用 $_SERVER["HTTP_HOST"] ,比较可靠。
另:
"PHP_SELF"
当前正在执行脚本的文件名,与 document root 相关。举例来说,在 URL 地址为 https://blog.liuguofeng.com/wp-admin/post-new.php 的脚本中使用 $_SERVER['PHP_SELF'] 将会得到 /wp-admin/post-new.php 这个结果。__FILE__ 常量包含当前(例如包含)文件的绝对路径和文件名。
"SCRIPT_NAME"
包含当前脚本的路径。这在页面需要指向自己时非常有用。__FILE__ 包含当前文件的绝对路径和文件名(例如包含文件)。
研究代码时发现个有意思的现象
逻辑运算符中的 "并且 &&" 和 "或者 ||"
当 && 前为 false 时,无需执行后面语句即可返回结果 false;
当 && 前为 true 时,需执行后面,若后面为 true 则结果返回 true,若后面为 false 则结果返回 false;
当 || 前为 true 时,无需执行后面语句即刻返回结果 true;
当 || 前为 false 时,需执行后面,若后面为 true 则结果返回 true,若后面为 false 则结果返回 false;
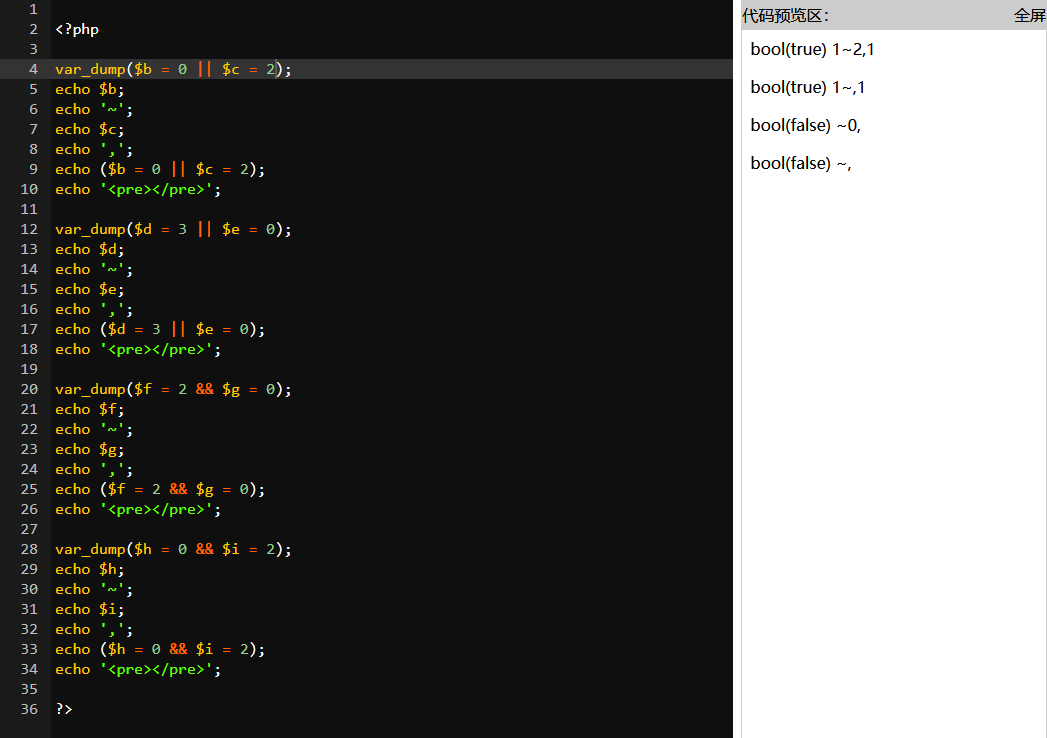
由于逻辑运算符 && || 的优先级高于赋值运算符 =

以 $b=0 || $c=2 为例
|| 的优先级高一些,先算 0 || $c
由于 $c = 2,所以 即 0 || 2
返回 true,true 就赋给了$b
所 $b = true
echo $b 就等于 1


使用 Navicat For Mysql 导入数据库的时候,报错 [Err] 1153 - Got a packet bigger than 'max_allowed_packet' bytes,因为 LNMP 一键安装包默认 MySQL 配置 最大允许文件包为 1M 所致
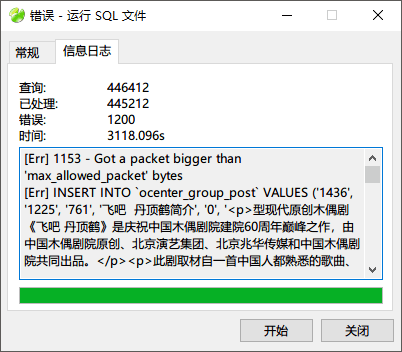
登陆终端,编辑 MySQL 配置文件 vim /etc/my.cnf 修改或添加 max_allowed_packet=512M

保存退出 :wq 重启MySQL lnmp restart
百度熊掌号 WordPress 插件(BaiduXZH Submit) 保存提示 appid 或 token 错误

原因在于插件源码中 save_verify 函数对 home_url() 判断不足,即:
若百度熊掌号绑定的网站地址为 blog.liuguofeng.com,但在 WordPress 后台设定网站主页为 guofeng.io,则会判断不通过,返回失败。
解决方法:
1: WordPress 后台将主页地址修改,由 guofeng.io 修改成 blog.liuguofeng.com

或
2: 插件源码中(插件地址:/wp-content/plugins/i3geek-baiduxzh),i3geek_baiduXZH_function.php 文件的 save_verify 函数中 home_url() 修改成 https://blog.liuguofeng.com

home_url() 文档解释:
